Elasticsearch snapshots at S3
Automate Storing Elasticsearch snapshot data in Amazon s3
We use elasticsearch for a lot of purposes within our organisation, and thanks to kibana, we sometimes also use elasticsearch to store some data that isn’t necessarily timeseries data, but just nosql data that we want to visualize. We had a business requirement of having multiple backups for one of these types of data. So, we decided to have a dump of these indices once everyday and store it in an Amazon S3 bucket, in case the worst should happen.
We’re going to configure elasticsearch to create snapshots for all the important indices and store it in Amazon S3. There’s an in-depth article on the elasticsearch official website which explains the entire process. We tried using that but that had some issues. Particularly, the snapshotting process fails at times on node restarts and we also had some issues with the elasticsearch keystore. So we ended up using AWS IAM roles to make the process easier and much more robust. So, lets get started!
Configuring S3 bucket
First, we’ll need to create a bucket in S3 where we will store our snapshots. Creating an S3 bucket should be fairly straightforward. We’ll keep our bucket private.
Creating IAM policy
Now, we create a policy with required permissions so that our EC2 instances, which are the nodes of our elasticsearch cluster, can have access to the S3 bucket without needing to change elasticsearch configurations individually. We would want this role to have permissions to list the bucket and we’ll give all access to bucket itself. The IAM policy would look something like this:
{
    "Version": "2012-10-17",
    "Statement": [
        {
            "Sid": "VisualEditor0",
            "Effect": "Allow",
            "Action": [
                "s3:ListBucket",
                "s3:GetBucketLocation"
            ],
            "Resource": "arn:aws:s3:::es-snapshot"
        },
        {
            "Sid": "VisualEditor1",
            "Effect": "Allow",
            "Action": "s3:*",
            "Resource": [
                "arn:aws:s3:::es-snapshot",
                "arn:aws:s3:::es-snapshot/*"
            ]
        }
    ]
}
Creating IAM Role
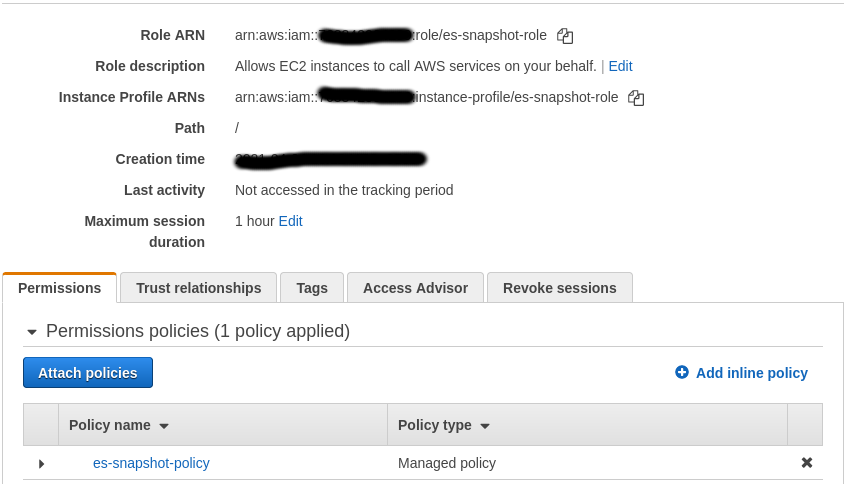
Once we have created a policy restricting access only to our s3 bucket, we’ll create a role that we can assign to our elasticsearch instances. This role will contain the policy we created earlier, hence giving our EC2 instances access to our S3 bucket.
Attaching Role to EC2 Instances
Next, we add this created role to all our EC2 instances. This can be done by selecting the instance, selecting Actions > Security > Modify IAM Role and attaching our role. Once saved, this instance should have access to the specified S3 bucket. We do this for all our elasticsearch nodes. Once this role is attached, our work here on AWS is done. Lets configure snapshots on kibana now.
Registering Snapshot in Kibana
Before getting started, we need to have s3-plugin installed on all our nodes. The steps can be found here. Once installed, we can add a client for this plugin if required, otherwise a default client is available. Also, we define the s3 endpoint with the region where our S3 bucket lies. Once done, we restart all nodes of our cluster for the changes to take effect.
# added in elasticsearch.yml

s3.client.s3ss.endpoint: s3.us-east-1.amazonaws.com
Once all nodes are up, we goto Stack Management > Snapshot and Restore to create our snapshots. Then goto Repositories tab and register a new repository. We should see AWS S3 Repository type, which we are going to use.
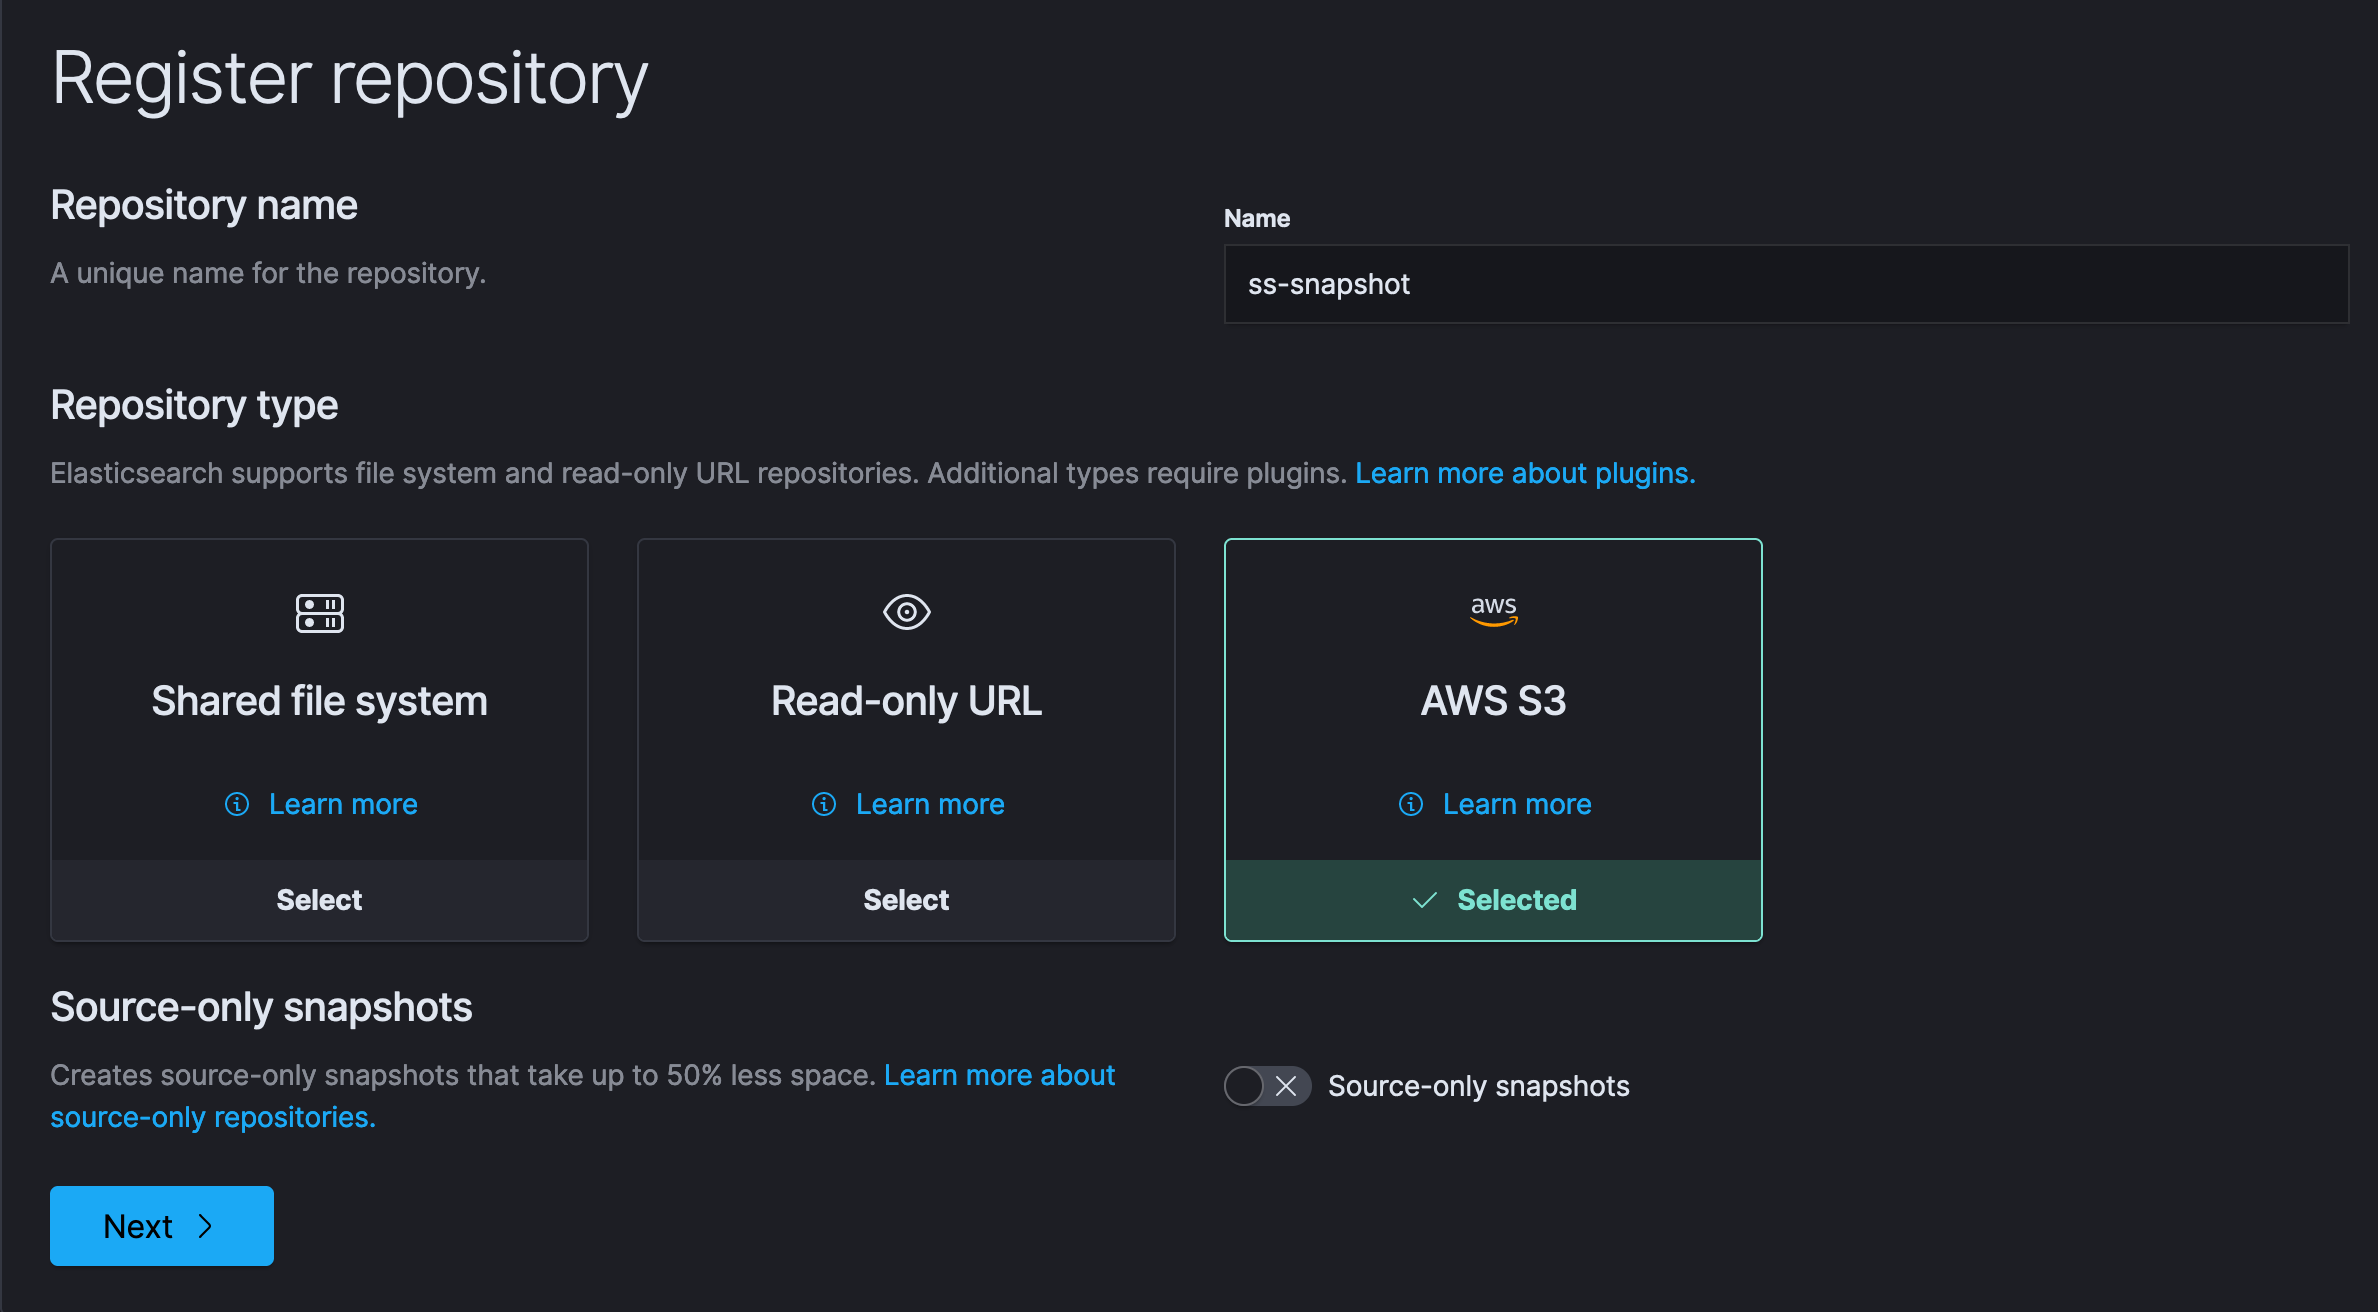
Repository creation is also very straightforward. We can either use our own client, or leave that as default. We already added the s3 endpoint in the elasticsearch configuration, so it should work without any hitches. Once its done, we can check if our elasticsearch node can actually access our S3 bucket for storing the snapshots.
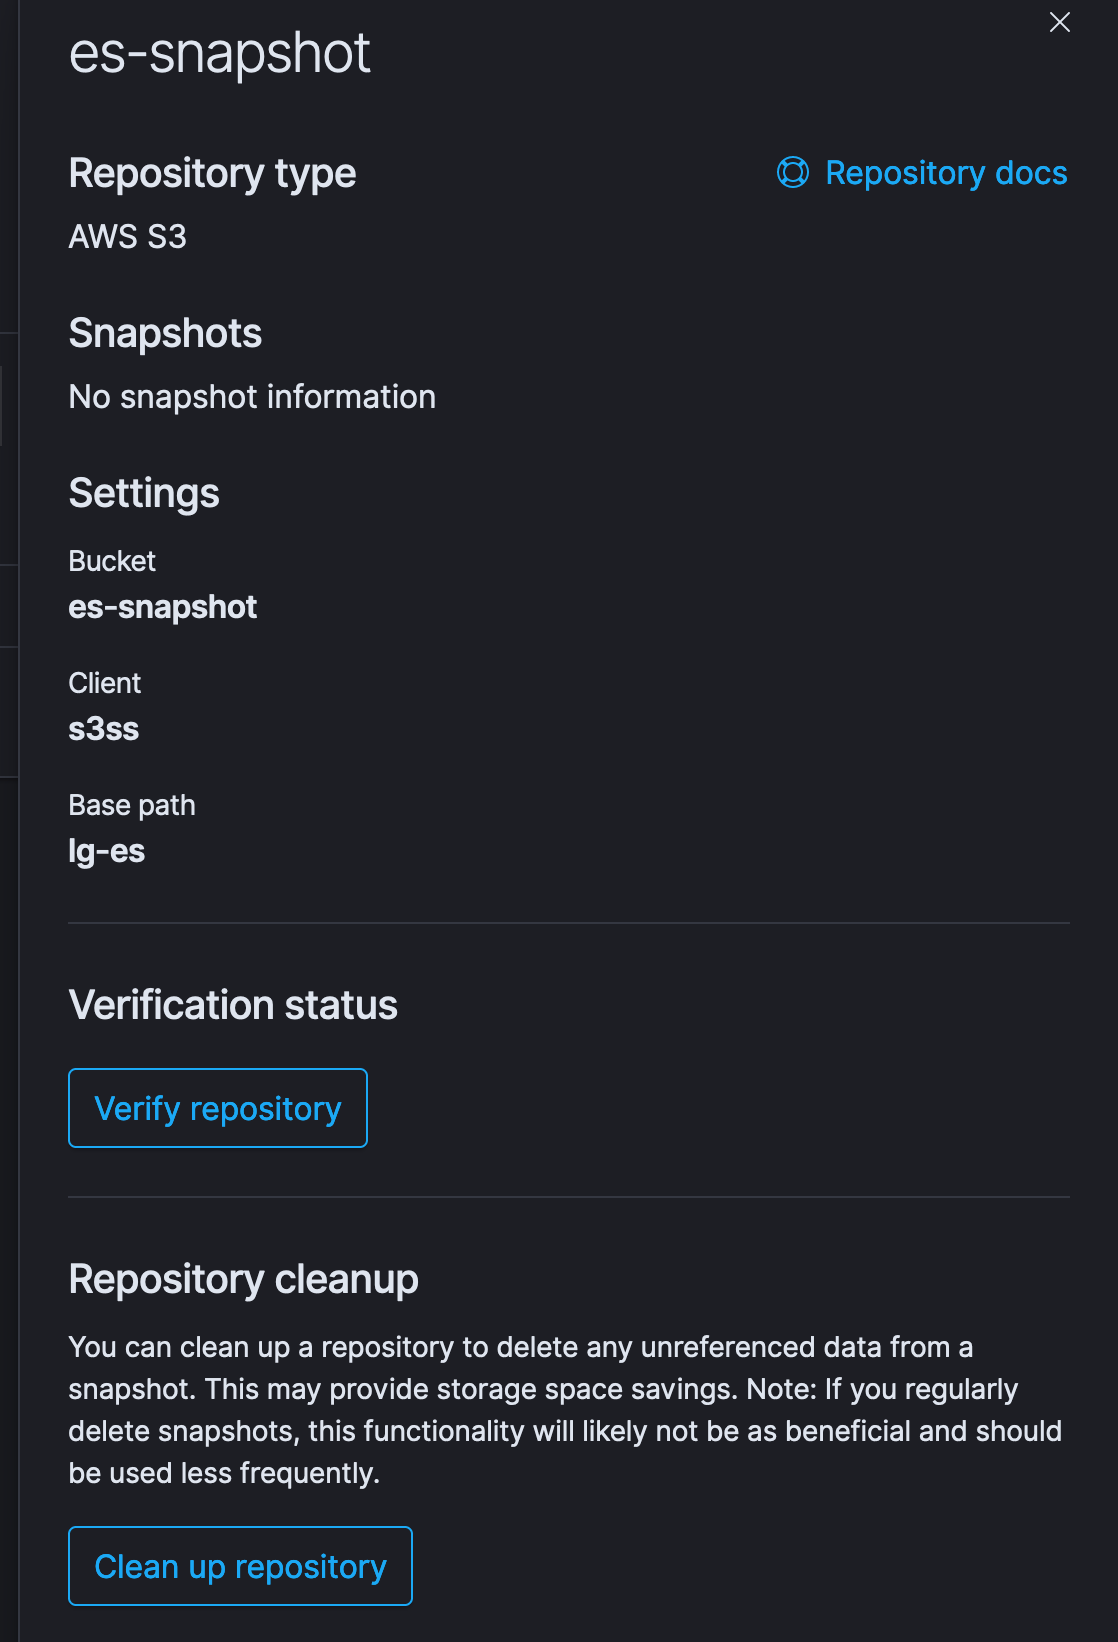
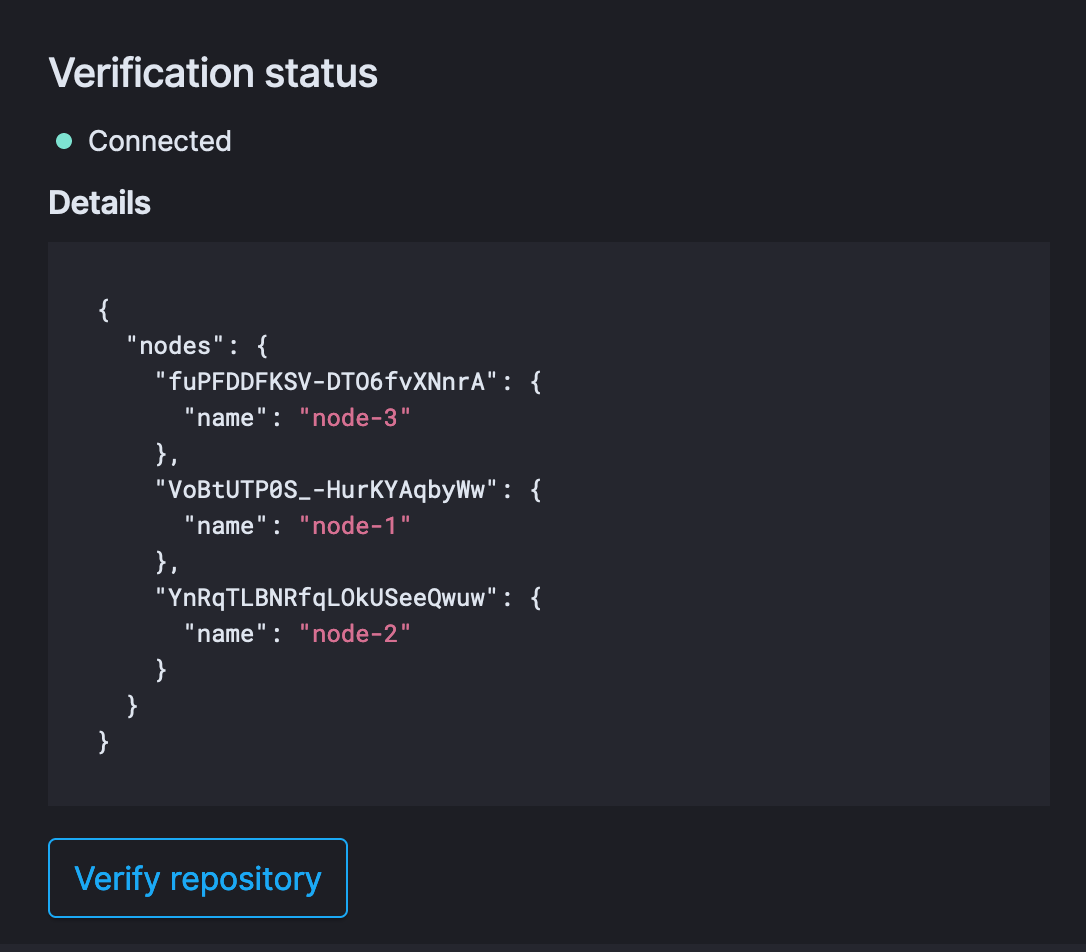
Clicking on verify repository should return success in case there are no issue. Once it is connected, we are done with the setup process.
Creating a snapshot policy
The final thing left to do now is creating a policy which uses the repository we just created to store snapshots of our elastic data. We can schedule how frequently we want our snapshots to be created, what timings should the snapshot be created at, which indices we want included in our snapshots, how to name them and how long to retain them etc. Once all that is done, we have completed our setup.
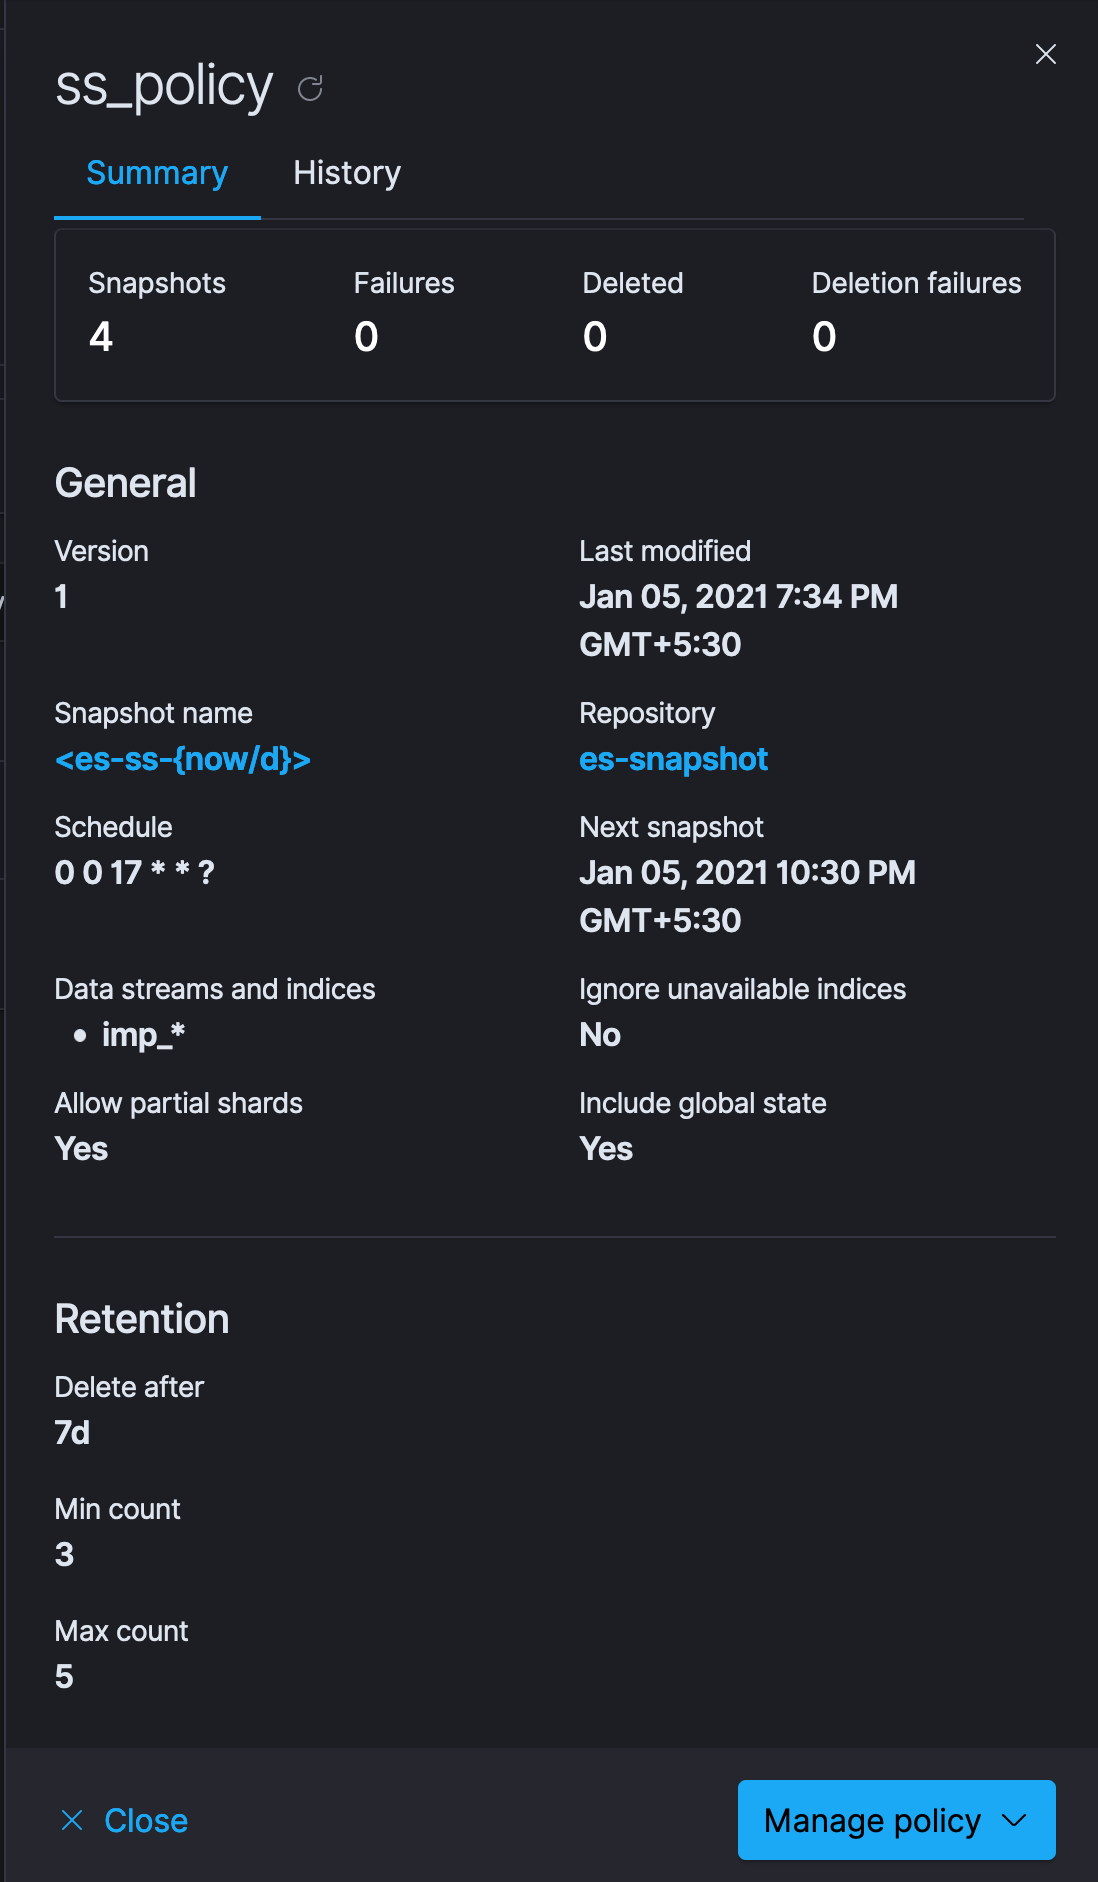
We should now be able to see all the snapshots in the snapshots tab in future.

Share this post
Twitter
Facebook
Reddit
LinkedIn
Email